Last Updated: 9/25/2025
Disclaimer: Chromatic has been tested to stream video to Windows 10 and 11, macOS Sequoia 15, and Linux (Ubuntu 24.04) to OBS and Discord.
The contents of this post are subject to change and may not reflect the final processes or procedures. This post will be updated frequently to ensure it aligns with current practices.
Set Up Chromatic for Capture
- Turn on Chromatic with a game inserted.
- Once the game loads, press the MENU button.


- In the MENU, navigate to the SYSTEM menu by toggling right on the D-Pad to the gear icon (fourth option); toggle down to PLAYER # and be sure that 1 is shown.

- If you are looking to set up a second capture on another Chromatic on the same machine, make sure to select PLAYER 2 on the second Chromatic by pressing B or A, respectively, to change the PLAYER #.

- Press the MENU button to close the Menu window, and turn off the Chromatic.
Install OBS
- Visit the OBS Website, and download the software that corresponds with the OS that you have on your computer.
- Install OBS.
Connecting your Chromatic to the PC
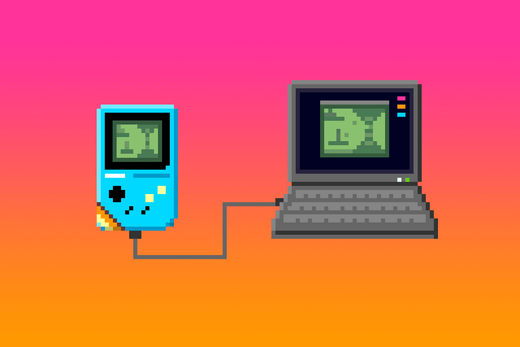
- Insert the USB-C portion of the cable into the Chromatic’s USB-C port, and then connect the cable to the PC.
- Turn on Chromatic with the game inserted.
Please note that the PC will detect the Chromatic as a webcam. If your system has multiple USB ports on the same card, avoid plugging in another webcam or Chromatic into those ports, as the PC may not detect the webcam signal. To capture footage from multiple Chromatics, ensure that each USB-C cable is connected to a separate USB-C card port.
Creating a Scene in OBS
-
Go to SCENE under SCENES and right-click to rename the scene to whatever you like; for the purposes of this instruction, we will rename it “Capture.”

- Under Sources, select the +, then select Video Capture Device.

- A pop-up window will appear; for the purposes of this instruction, we will rename the source to “Chromatic - Player 1” since we selected player one above. Click OK to continue.

- Another pop-up window will appear; make sure Chromatic - Player 01 in the Device drop-down menu is selected. If done correctly, you should see the Window Capture on the screen; select OK to continue.

- Before resizing the window, with the Chromatic - Player 1 source selected, right-click on the source and select the Scale Filtering, then select Point.

- Right-click on the Chromatic video capture, select Transform and then choose Fit to Screen. If done correctly, the capture will be centered and optimized to fit the screen without any stretching or loss in pixel fidelity.

- To add capture from a second Chromatic, repeat the steps above, ensuring the second unit PLAYER # is assigned 2, a unique name is assigned for the other window to differentiate the two, and the same filters are used. Resize and organize windows as needed for your application. Done!

Capturing Audio
-
Under Sources, click on the +, then select Audio Input Capture.

- A pop-up window will appear; for the purpose of this instruction, we will rename the source to “Chromatic Audio - Player 1” since we selected player one above. Click OK to continue.

- Another pop-up window will appear; make sure Microphone (Chromatic - Player 01) in the Device drop-down menu is selected. Click OK to continue.

- If done correctly, you should see a new entry named “Chromatic Audio - Player 1” in the Audio Mixer.

- Under Audio Mixer, click on the kebab button for “Chromatic Audio - Player 1”, then select Advanced Audio Properties.

- A pop-up window will appear; in the Audio Monitoring drop-down menu, select Monitor and Output. Click Close to continue. Done!

Set Up OBS for Recording
-
Under Controls on the bottom right of the screen, select Settings.

- In the Settings Menu, select Output on the left navigation bar. Under Recording, click Browse next to Recording Path.

- A file explorer window will appear. Select the folder you would like to save your gameplay footage. Click Select Folder to continue.

-
Select the Recording Format in the drop down menu to the video format of your choice; we would recommend MPEG-4 (.mp4).

- Select Apply, then select OK.
Start Recording on OBS
-
Under Controls, select Start Recording to begin recording game footage; select Stop Recording to stop recording game footage.


